Setting Up Express Checkout Buttons in WooCommerce

Ever felt like your online store’s checkout process is more of an obstacle course than a smooth ride? You’re not alone. According to the Baymard Institute, a whopping 22% of shoppers abandon their carts simply because the checkout process is too long or complicated. That’s a lot of potential sales flying out the window.
Enter express checkout – your new best friend in the fight against cart abandonment. Think of it as the fast pass at an amusement park, letting your customers breeze through the payment process with minimal clicks. Whether it’s Apple Pay, Google Pay, or PayPal Express, these payment options allow customers to complete purchases directly from product pages, carts, or checkout pages. No detours. No fuss.
The magic of express checkout isn’t just about speed. It’s about creating an experience that feels effortless, especially for mobile users juggling coffee cups and commutes. By reducing friction, you’re not just improving conversion rates – you’re making your customers happier.
In this guide, we’ll show you the ropes of setting up express checkout buttons in WooCommerce. We’ll cover different implementation methods and, of course, show you how CheckoutWC makes the whole process even easier. Let’s get started!
Using the WooCommerce Express Checkout Block vs using a plugin
WooCommerce offers a built-in Express Checkout Block that lets you add express checkout buttons directly to your store. It sounds convenient, right? Well… kind of. While it’s easy to set up and works with payment methods like Apple Pay and Google Pay, the functionality is pretty basic.
The biggest issue? Compatibility. Many third-party payment gateways and plugins aren’t designed to play nicely with the block-based structure. Unless a plugin explicitly declares compatibility with WooCommerce blocks (which requires specific coding on the developer’s end), things can break – or worse, not work at all. That’s not exactly what you want happening at checkout.
Enter CheckoutWC – a checkout optimization plugin for WooCommerce that transforms the checkout page into a Shopify-like style experience. It’s easy to use and customize, but most importantly, CheckoutWC works with a wide range of payment solutions that support express checkout, including Apple Pay, Google Pay, PayPal, Amazon Pay, and more. That means less worrying about compatibility issues and more time focusing on what matters – getting more sales.
In addition to that, you also get the following features:
- Pre-built, conversion-optimized checkout templates to replace the default WooCommerce layout.
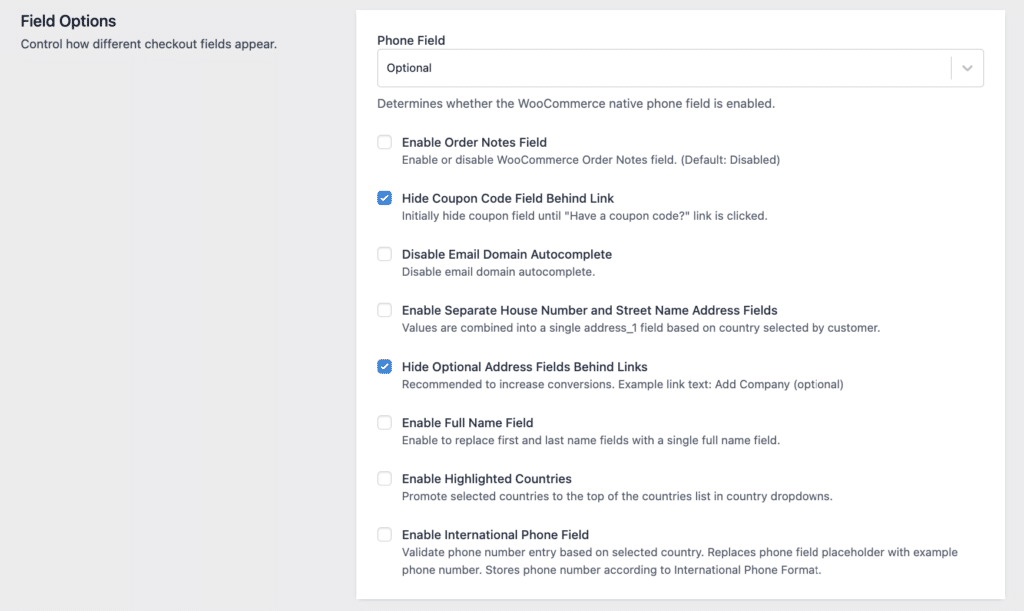
- Field reduction options to speed up the process (because no one likes filling out forms).
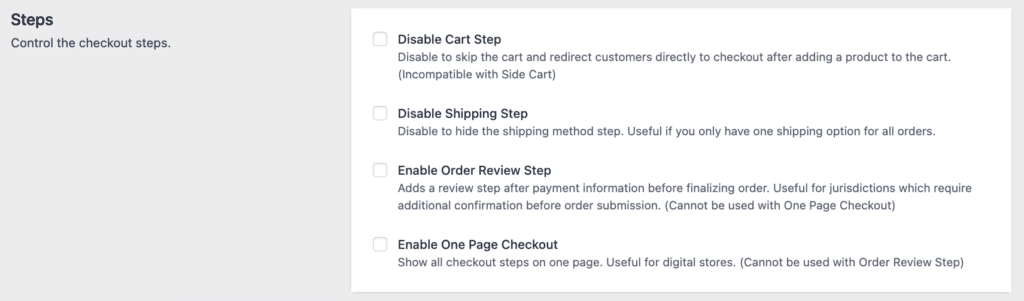
- Flexible checkout flows with one-page or multi-step options.
- Smart field validation to catch errors in real time.
- Address autocomplete to save customers from typing their entire address.
Setting up express checkout with CheckoutWC
Ready to streamline your checkout process? With CheckoutWC, you can quickly set up the express checkout, increasing your conversions and improving customer satisfaction. Here’s your step-by-step guide to adding those magical express checkout buttons:
Install your payment gateways
Before we get to the express checkout buttons, you’ll need to set up the payment gateways that support express checkout. You can do this by installing a payment plugin like WooPayments or Payment Plugins for Stripe WooCommerce. Both options connect to your Stripe account which will enable all the other payment methods.
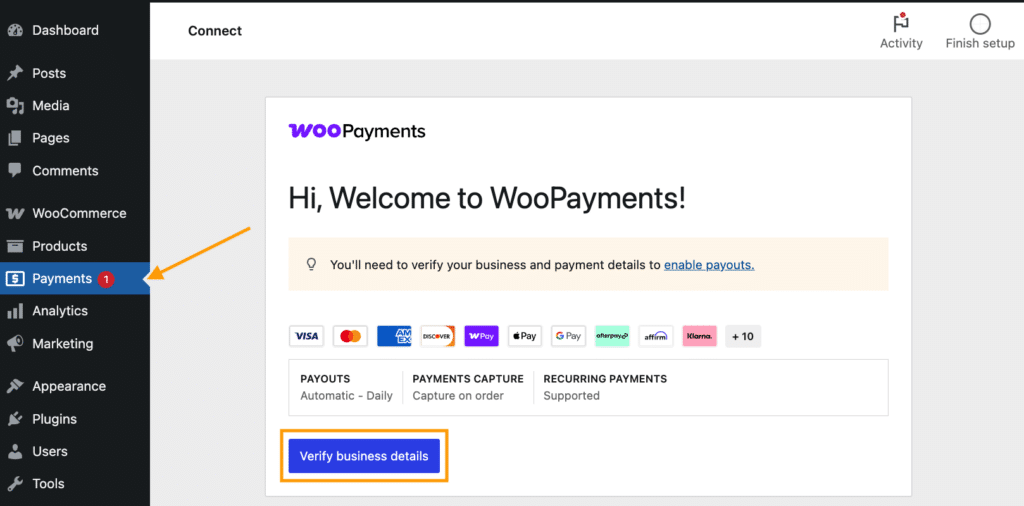
If you want to install WooPayments, go to WooCommerce > Payments > Verify business details.
Then, you’ll be prompted to fill out your business details, such as location, company size, type of organization, and yearly revenue.
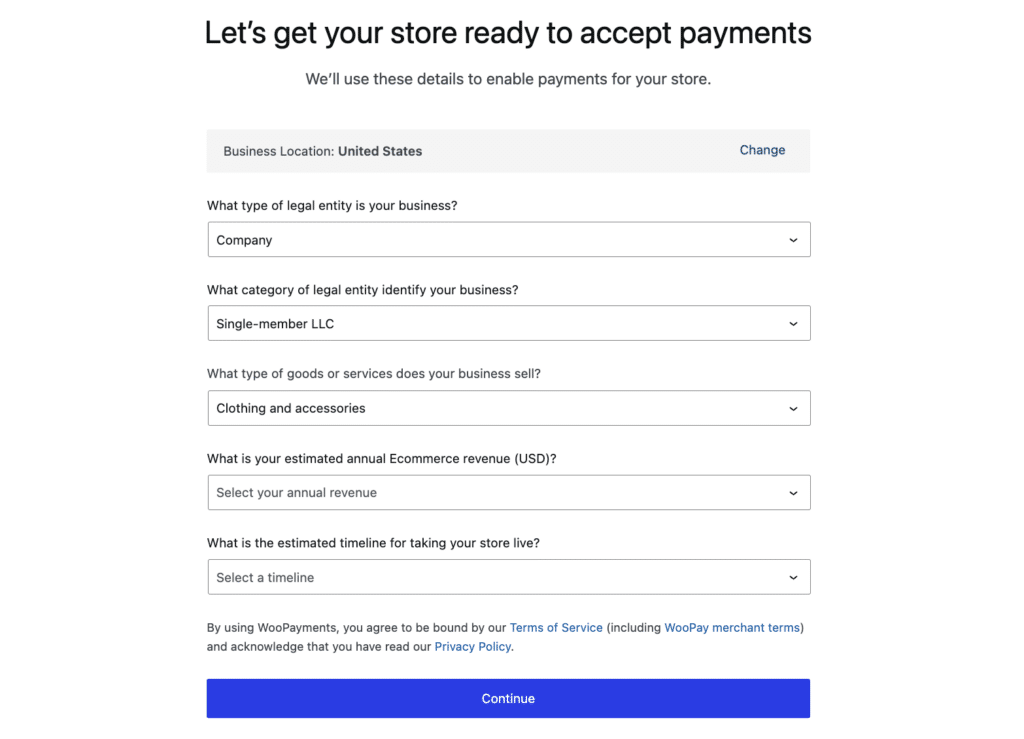
After that, you’ll have to connect with your Stripe account, and you’re done!
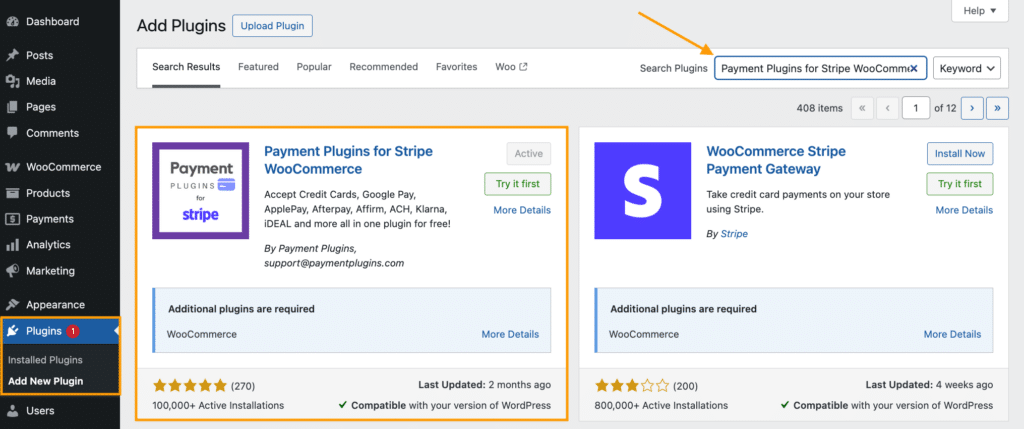
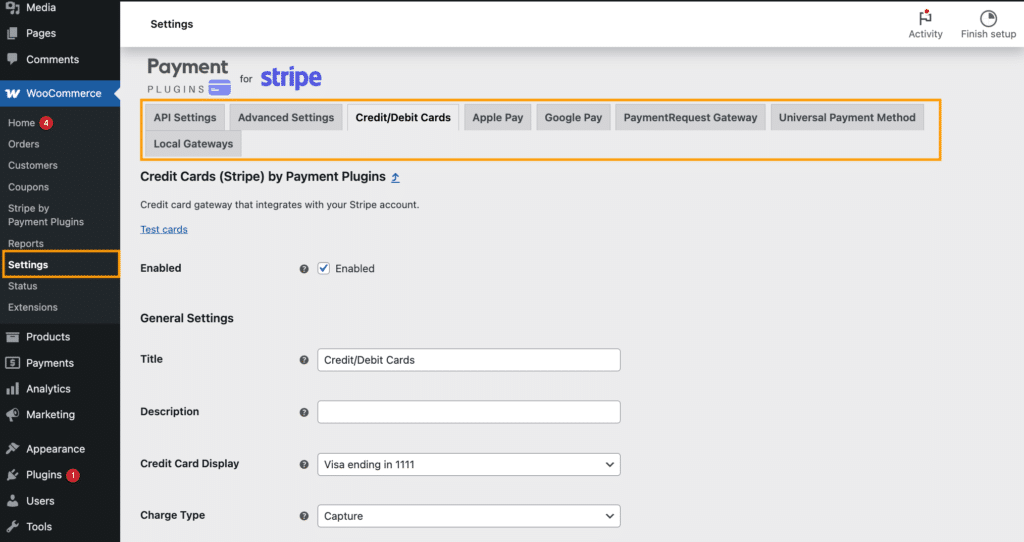
If you opt for Payment Plugins for Stripe WooCommerce, go to Plugins > Add new and look for the plugin in the directory.
Then, head to their Settings page and adjust the configuration for the different payment methods which you can see as separate tabs.
Enable express checkout in CheckoutWC
Now that your payment gateways are ready, it’s time to enable express checkout in CheckoutWC:
- Head to your WordPress dashboard and navigate to CheckoutWC > Express Checkout.
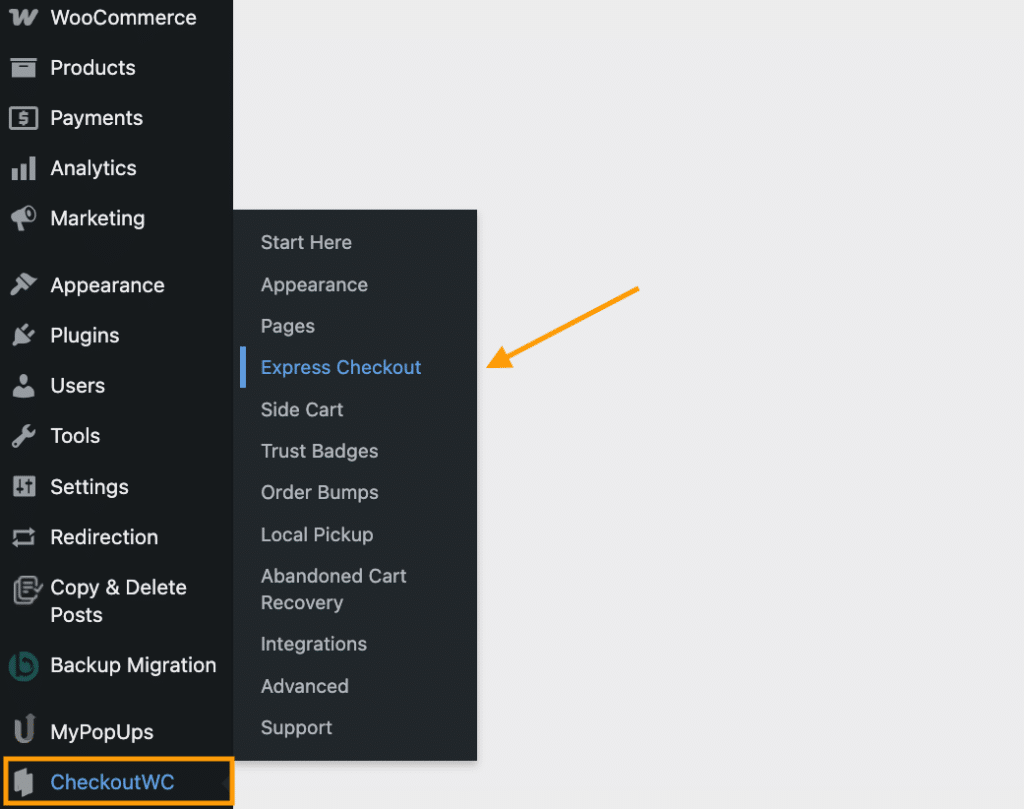
- Make sure the Enable Express Checkout option is not disabled and the gateways you set up earlier are listed here.
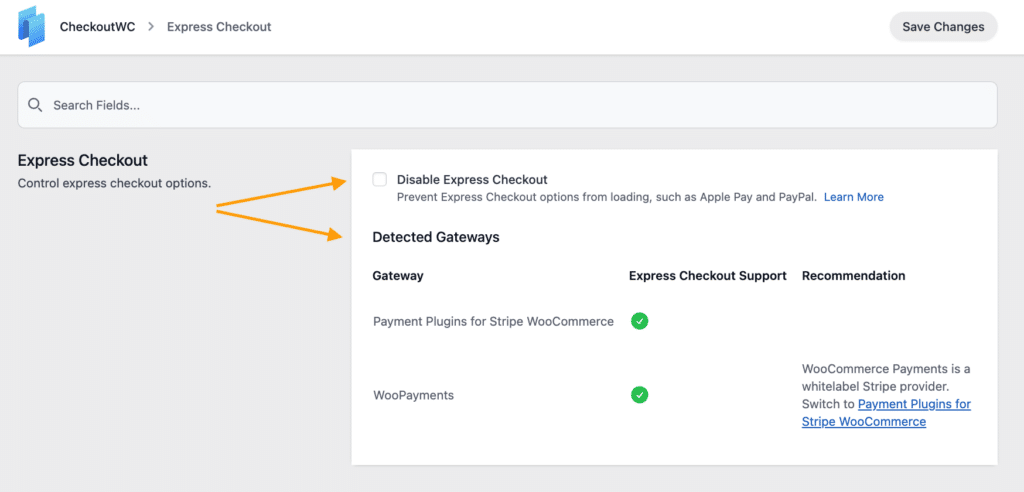
This is also where you can double-check for any compatibility issues. The Express Checkout tab will show if everything is working smoothly. If there’s a problem with a gateway, this section will flag it, so you can fix it before going live.
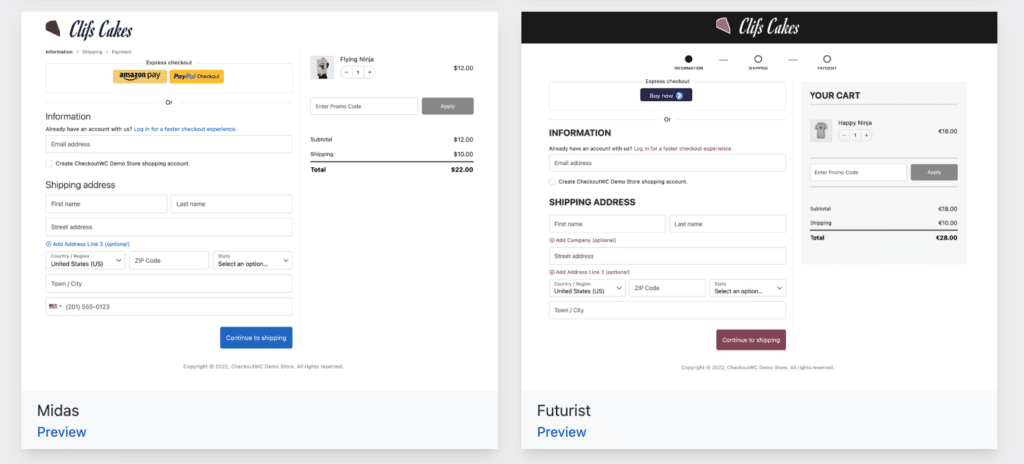
Preview the express checkout buttons
So, what do your customers see? Here’s where the magic happens. On the front end, customers will see sleek, recognizable express checkout buttons on your product pages, cart pages, or checkout page – wherever you’ve chosen to place them.
The buttons for PayPal, Google Pay, and Apple Pay will appear right next to your regular checkout button, giving customers the option to pay with just a few clicks.
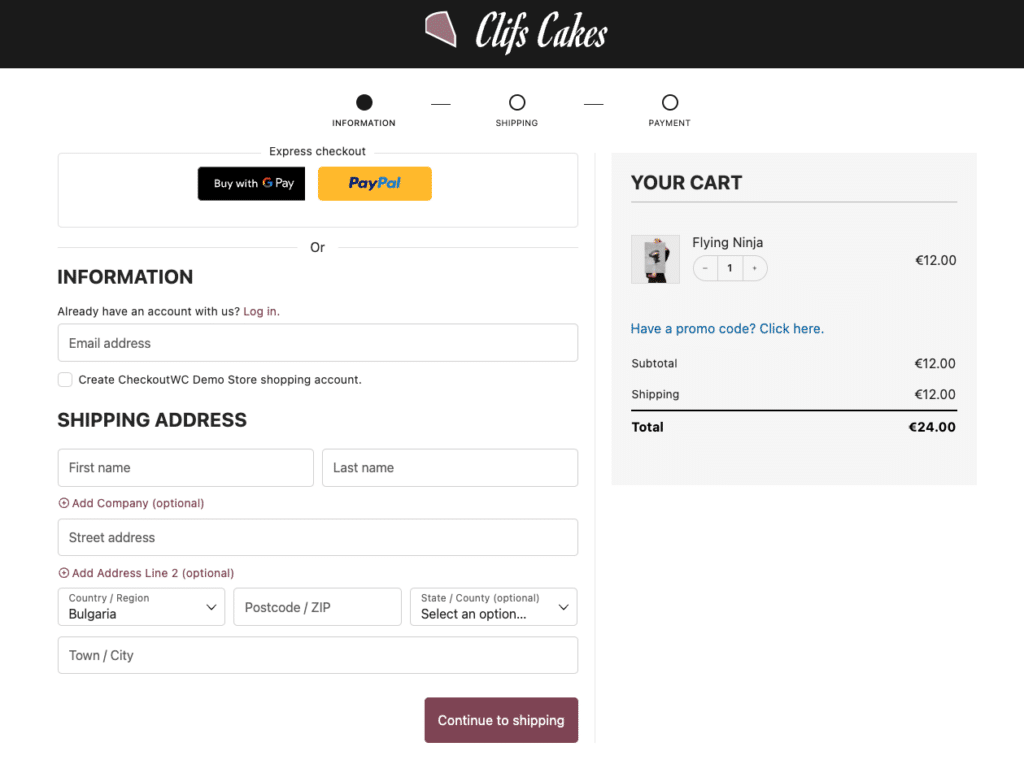
And since the payment information is pre-filled, they can skip most of the checkout form – talk about making things easy for your customers!
With CheckoutWC, getting express checkout up and running takes just a few clicks. And now that everything’s set up, you’re ready to start seeing those conversions soar!
Upgrade your checkout experience today
The path from product discovery to purchase should be as smooth as possible – each click you remove from that process makes it easier for customers to buy. Express checkout is the ultimate optimization for this path, eliminating unnecessary steps and boosting your conversions.
With CheckoutWC, you can set up express checkout with ease, offering multiple payment options like Apple Pay, Google Pay, and PayPal. It integrates immediately with your existing payment gateways while adding these convenient options for your customers.
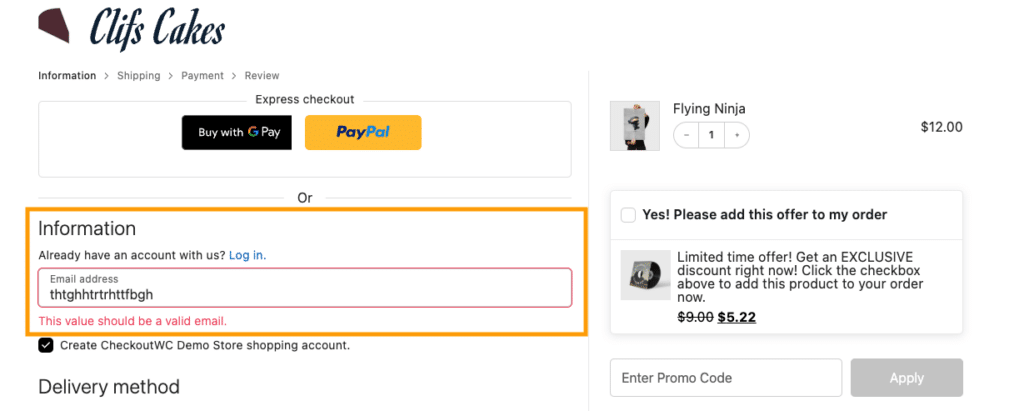
And it doesn’t stop there. Express checkout works perfectly alongside other features like the side cart and order bumps to increase your average order value.
Ready to upgrade? Try CheckoutWC today with a 7-day free trial and see how easy it is to streamline your checkout and maximize sales.